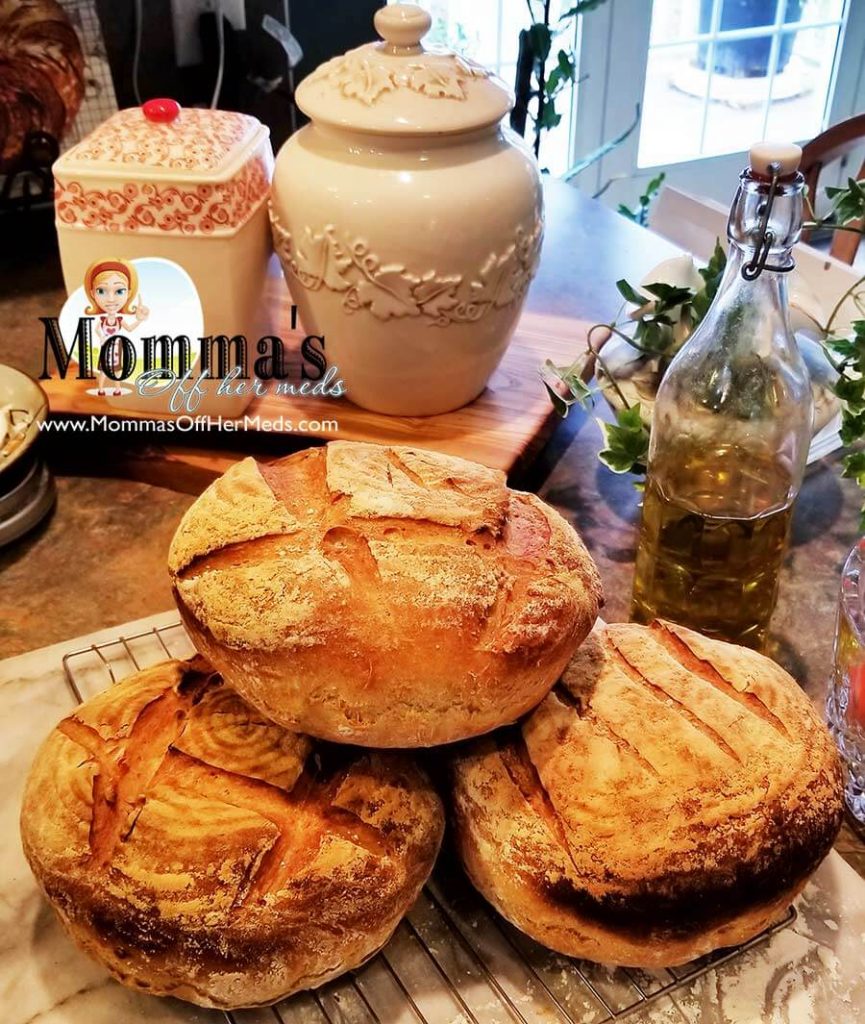
 As you can see by the ragged cut of the top image, a thief got to the loaves… this is a reality of home baked bread, so be prepared, lol.
So, this is my evolved version of a rustic Italian loaf of bread. It is a combination of my own experience in baking bread and watching my father-in-law (a bona fide Sicilian, lol) make bread over the last 30 years. And, until my father-in-law’s accident this year (broken shoulder at age 95), he had an amazing way of working close to 10 lbs. of flour into loaves COMPLETELY by hand–which I absolutely cannot–plus he would start at 3 am so that they were baking by mid-morning. I apologize that I am not that committed to the process, lol.
Now (at almost 96), dad is strictly my bread critic, lol. He favors less salt, but he will give me a complete run-down on his opinion. And I do appreciate it, I really do, lol. And when (if) he gives the thumbs up, it’s a good day–and he doesn’t give his thumbs up lightly.

Also, this recipe lists using King Arthur stone-ground whole wheat flour plus unprocessed wheat bran, however lately I’ve been using the KitchenAid all-metal grain mill attachment to grind my own whole wheat–and if you end up in going down this route, grinding wheat berries–will give you the whole wheat including the bran. And with this, I still use the King Arthur bread flour (white) for the majority. And full disclosure, I actually just use regular King Arthur unbleached white flour–not the bread flour, just regular (because I can buy the 25 lb. bag from Costco–and I get good results). I think using the bread flour is possibly idiot-proof–but I’ve never tried it.

So, if you want to grind your own grains, I recommend using the King Arthur white flour–and for grinding your own whole wheat, I buy hard white (or red) berry grains from a local health food store. When you grind 1 cup of berries, you end up with slightly more flour ~ 1 1/4 cups of flour with the wheat bran included, so you don’t need to add the wheat bran separately.
And last, you can freeze these loaves (after they’ve come to room temperature) immediately. I have found that when the first one is cut, it lasts <24 hrs. so you might want to keep two out, lol. Some of the benefits of freezing is that they defrost pretty quickly, and they have the texture as if they just came out of the oven, so I recommend (if they aren’t stolen immediately) that you freeze them until you are ready to use them.
I posted this more quickly than I wanted to, and I plan to add a video on working the dough–so check back!
[xyz-ihs snippet=”Signature”]

Ingredients
Method
- Sprinkle the yeast on the water and let sit for a few minutes. Stir and leave the yeast to activate at least a total of 5 minutes. *You don't need to do this with instant yeast.
- Put the water/yeast mixture in a large capacity mixer and scoop in 4 of the cups of flour. With the mixer on the lowest setting and the dough hook, mix for 3 minutes. Then scoop in 3 more slowly over another 10 minute period.
- Add another cup of flour with the salt and slowly add the rest of the flour. Now, depending on the size of your mixer, you won't be able to add all the flour, you might have to finish it by hand. I have a Kitchenaid Pro Series 650 with a 7 quart bowl and more than 10 cups is pushing it. The other thing about the flour is that you want a soft elastic dough and absorption of the flour can vary, so you might not need all.
- With a soft plastic scraper, scrape the dough out of the bowl onto a hard floured surface and kneed the dough for a minute or so it is completely cohesive, and then let it rest for 3-5 minutes. Kneed again for an additional 10-15 minutes.
- In a VERY large bowl, place the olive oil. Shape the dough into a ball, put it in the bowl and turn it so it is completely covered by the oil. Cover the bowl with plastic wrap and store in a warm place with no draft. If it is a cold day, cover it with a cloth as well and place in the oven (with the oven off).
- In 1 1/2 to 2 hours, the dough should double. Punch it down and turn it to form a ball again and cover with plastic, then cloth, and set to rise again (1 1/2 - 2 hours).
- After the second rising, punch it down again and weigh it. It should be ~6 lbs. You will cut it into 4 equal parts (~ 1 1/2 lbs. each).
- Form each piece into a ball, dust with flour and set to rise. I rise mine in wicker bowls to get the circular indentations. You have to prepare the wicker bowls with oil covered by a lot of flour if you do that. Cover with a cloth.
- After covering the dough to rise, set a timer for 30 minutes. At the 30 minute mark, pre-heat the oven to 500 and place a cast iron or metal pan with water at the very bottom. My oven takes 30 minutes to pre-heat to that temperature. At that point the dough will have risen for 1 hour.
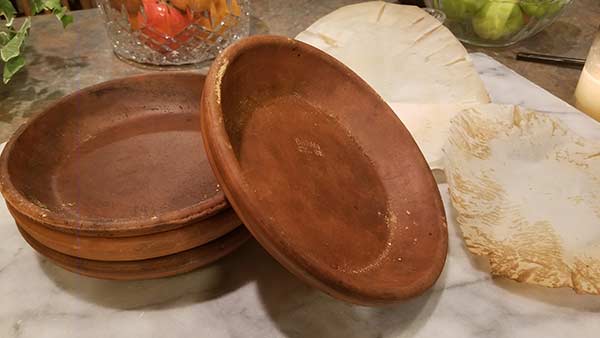
- While you are waiting, cut parchment paper in a circle a bit larger than the clay pot saucers (I reuse the parchment about 3-4 times). When the rising is finished, place the parchment circle on top of the dough and then the clay saucer on top of it and turn it over 180 degrees to transfer the dough to the pot (leaving the parchment in the middle). It's important that the dough not deflate, so be careful.
- With a razor (or a lame), score the top of the bread and place in the oven right away. The water in the pan at the bottom of the oven should be boiling. I also spritz the bottom of the oven with cold water to cause more steam. Set the timer for 20 minutes. The water should evaporate by then.
- At the 20 minute mark, lower the oven to 450 degrees and bake for 25 more minutes (with no steam).
- Remove the bread from the oven and place them on a wire cooling rack for at least 30 minutes before cutting. That might require some guarding of the bread, lol...


LOOKS AMAZING, Amy! Thanks for the recipe!
Thanks SO much for the recipe, Amy. The loaves are beautiful!